Documentation
Complete guide to using Emergency Unmerge | Last updated: March 29, 2026
Contents
- Getting Started
- Scanning a Merged Record
- Reconstruction
- Reviewing the Reconstruction
- Executing the Unmerge
- Post-Execution Property Editor
- Association Editor
- Analysis Export
- Operation History & Credit Ledger
- Recovery Snapshots
- Chain Merges
- Bulk Operations
- Merge Audit Mode
- Audit-to-Unmerge Conversion
- Credits & Billing
- Disconnecting & Uninstalling
- Troubleshooting
1. Getting Started
1Install Emergency Unmerge from the HubSpot App Marketplace. This takes about 30 seconds and requires Super Admin permissions.
2Authorize the app: HubSpot will prompt you to grant CRM data access via OAuth. Emergency Unmerge needs read/write access to contacts, companies, deals, and their associated activities. Check the acknowledgment checkbox and click "Connect app".
Once installed, a sidebar card labeled "Emergency Unmerge" appears on every contact, company, and deal record in your HubSpot portal.
Tip: No subscription is required. You only pay when you purchase credits, and credits never expire.
For a visual walkthrough with demo videos, see the Setup Guide.
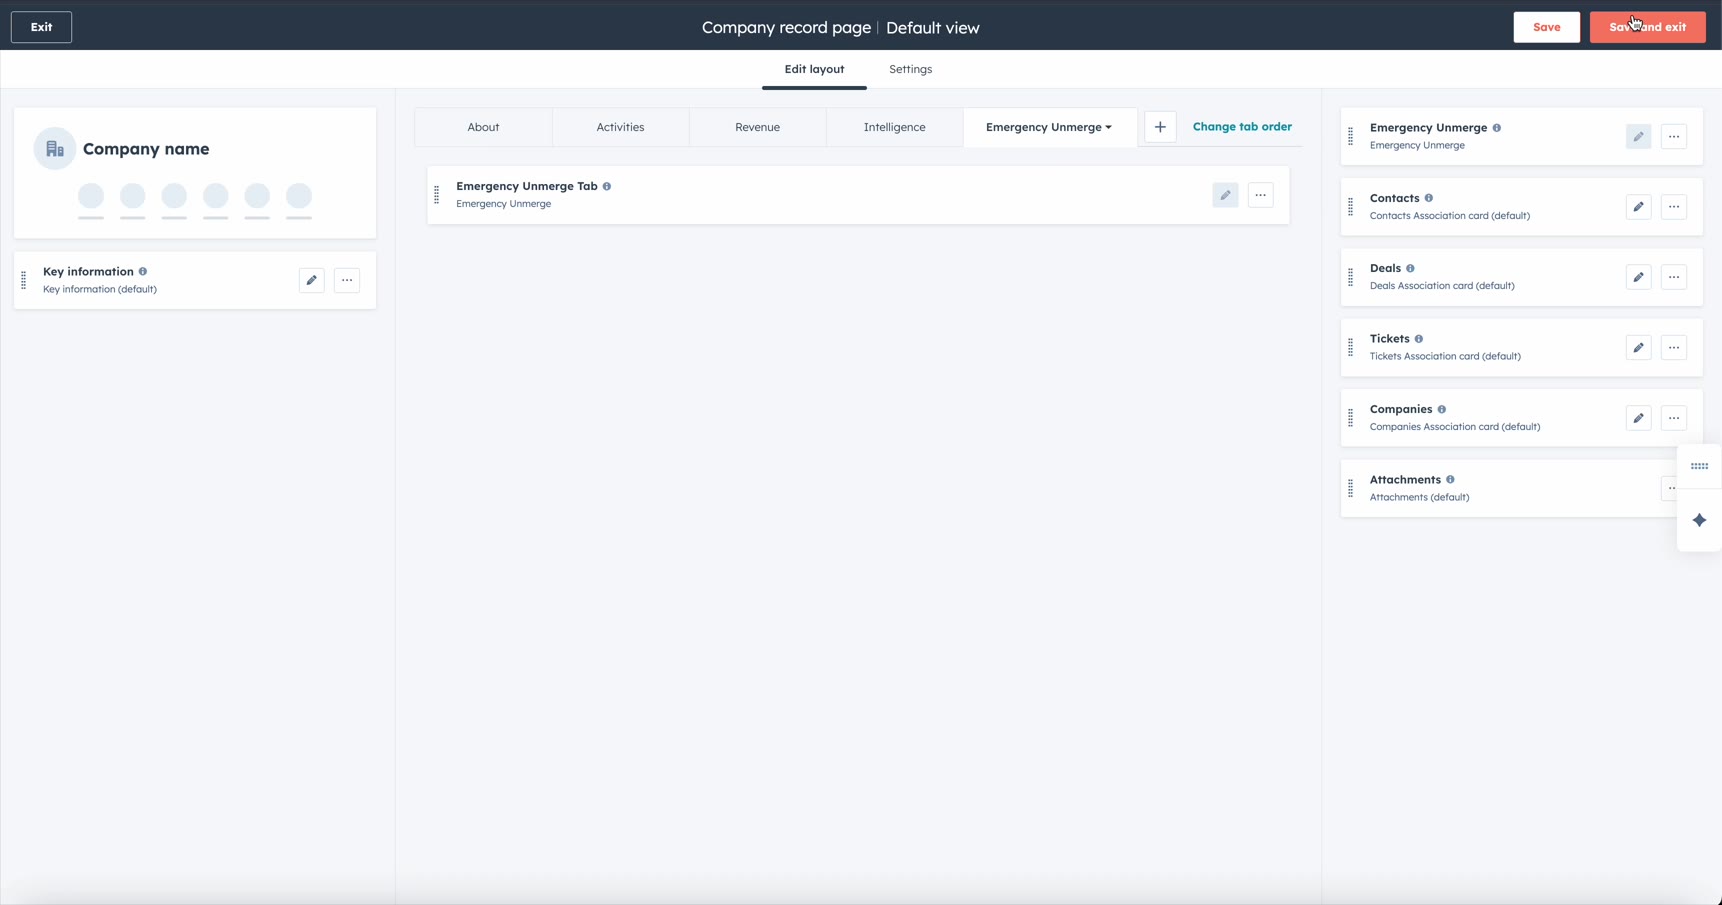
Adding Cards to Record Pages
After installation, add the Emergency Unmerge cards to your record page layouts. Repeat these steps for Contacts, Companies, and Deals:
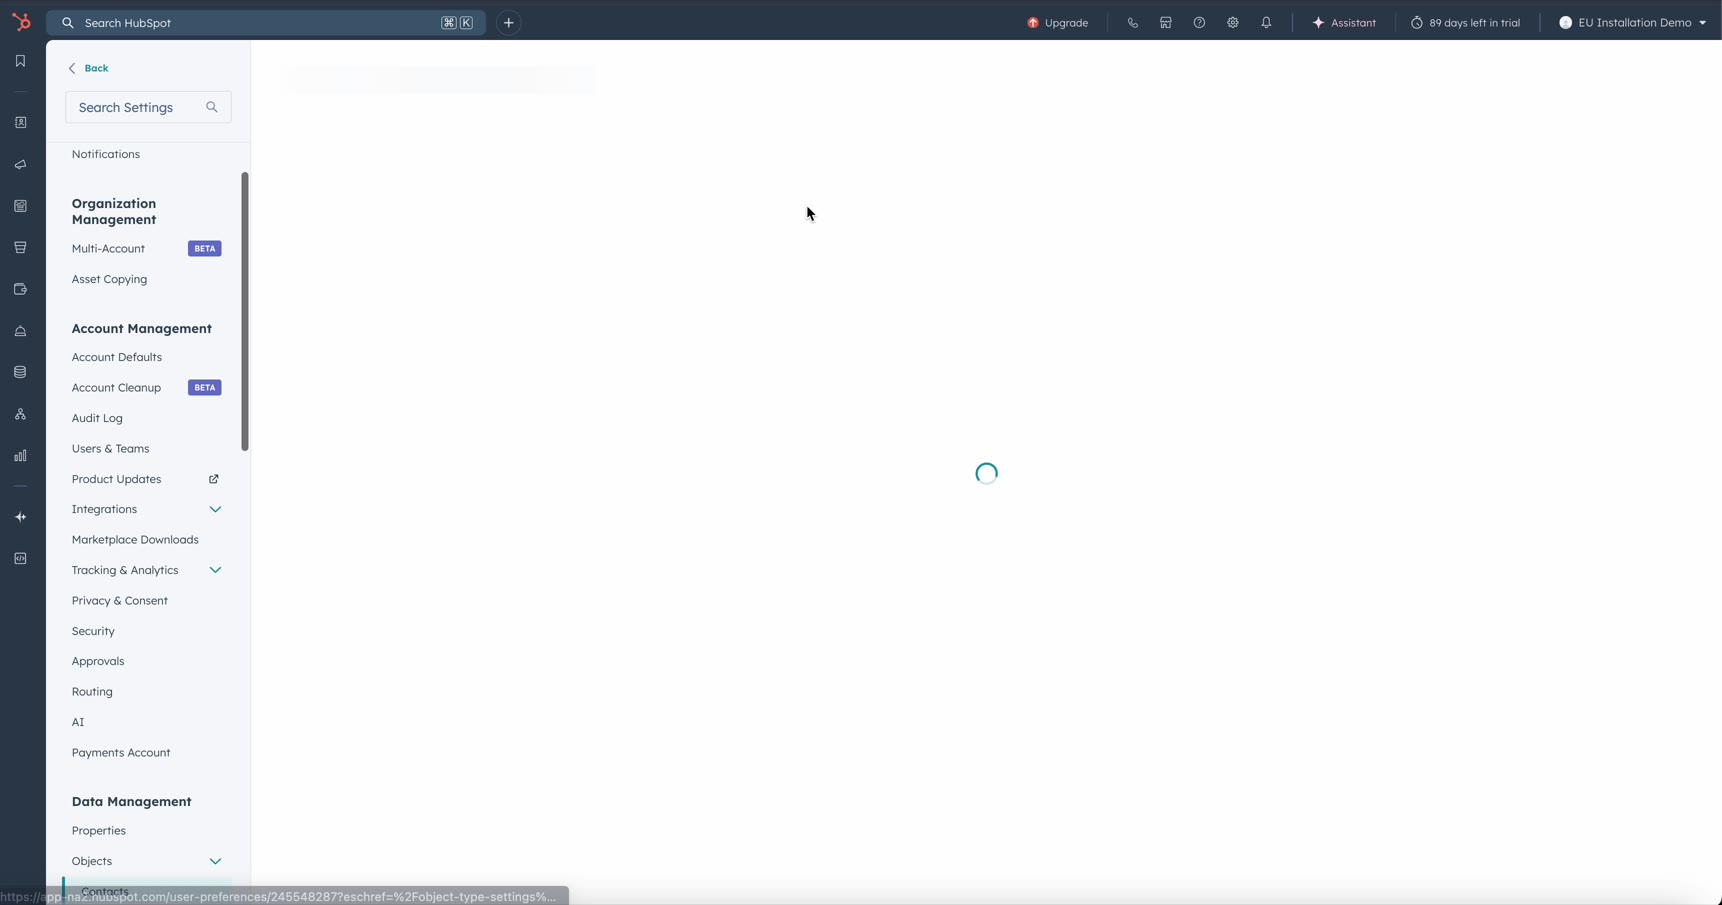
- Go to Settings → Data Management → Objects and select the object type.
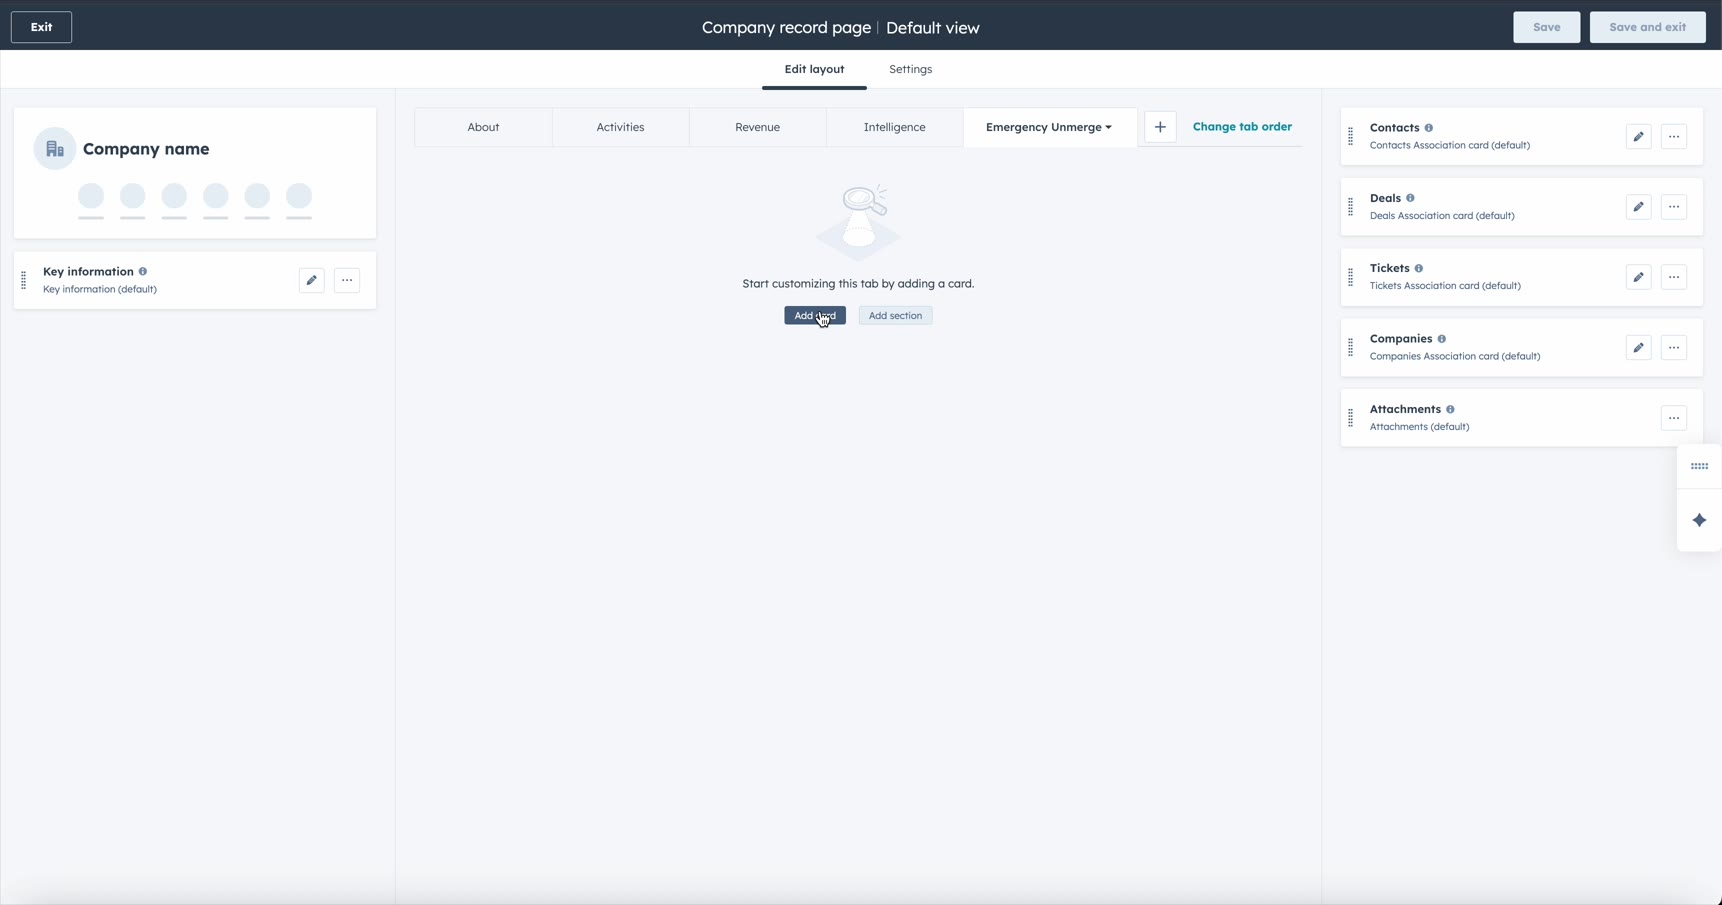
- In the record page editor, create a new tab named "Emergency Unmerge".
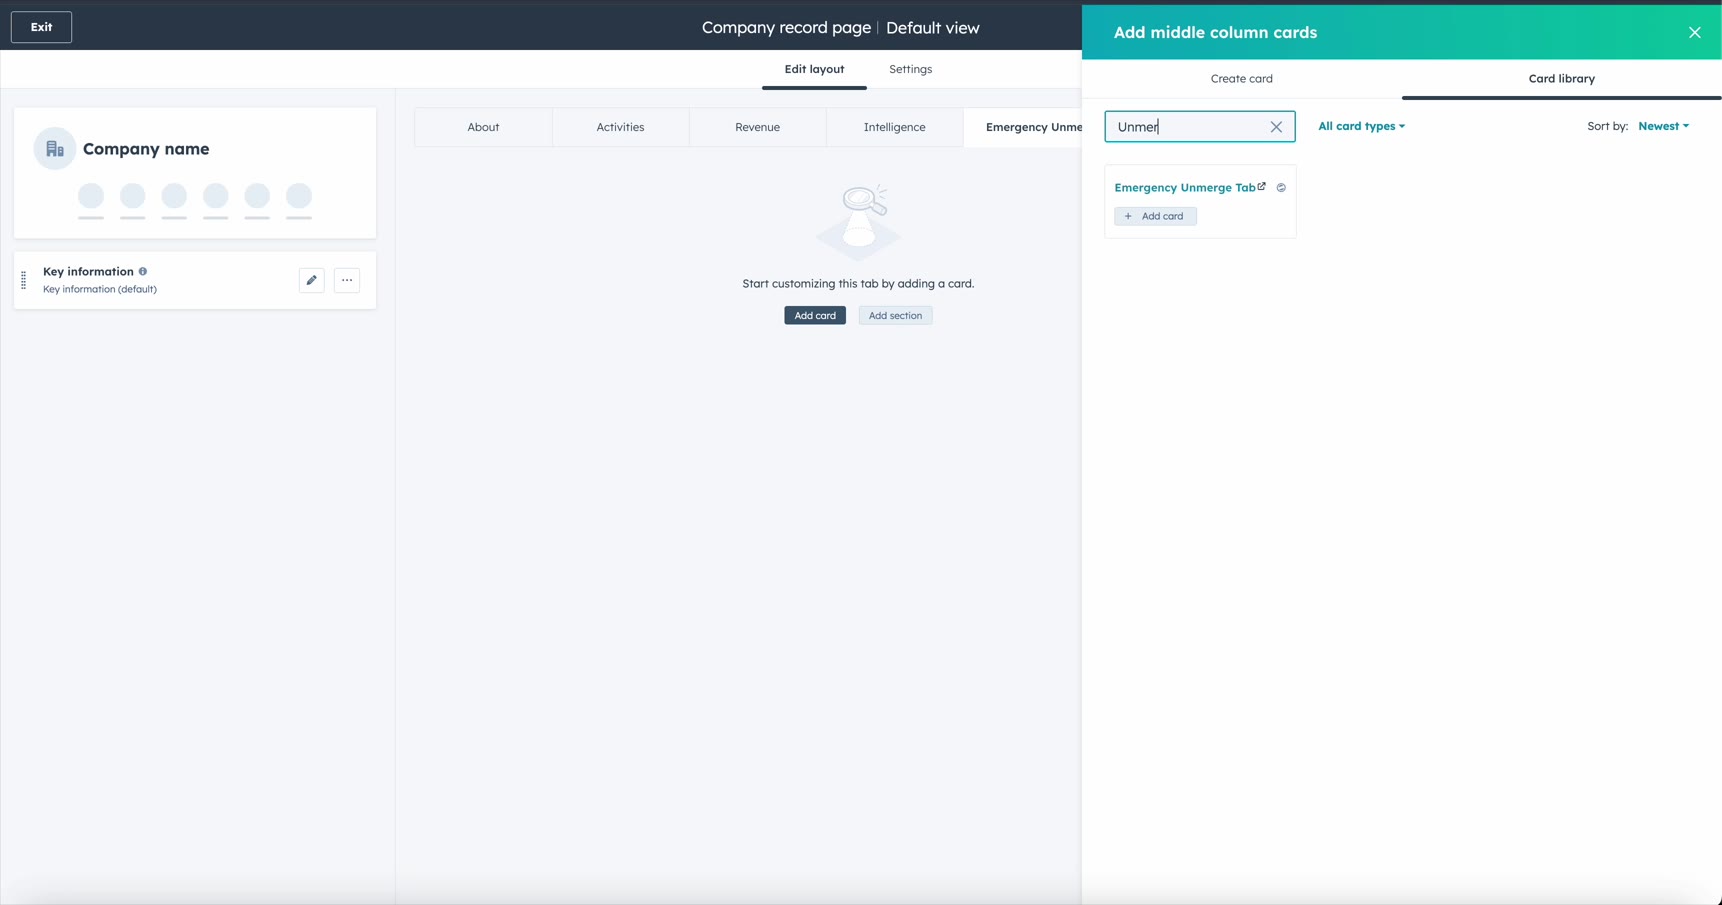
- Click "Add card" and search for "Unmerge" in the card library.
- Add the Emergency Unmerge Tab card to the middle column.
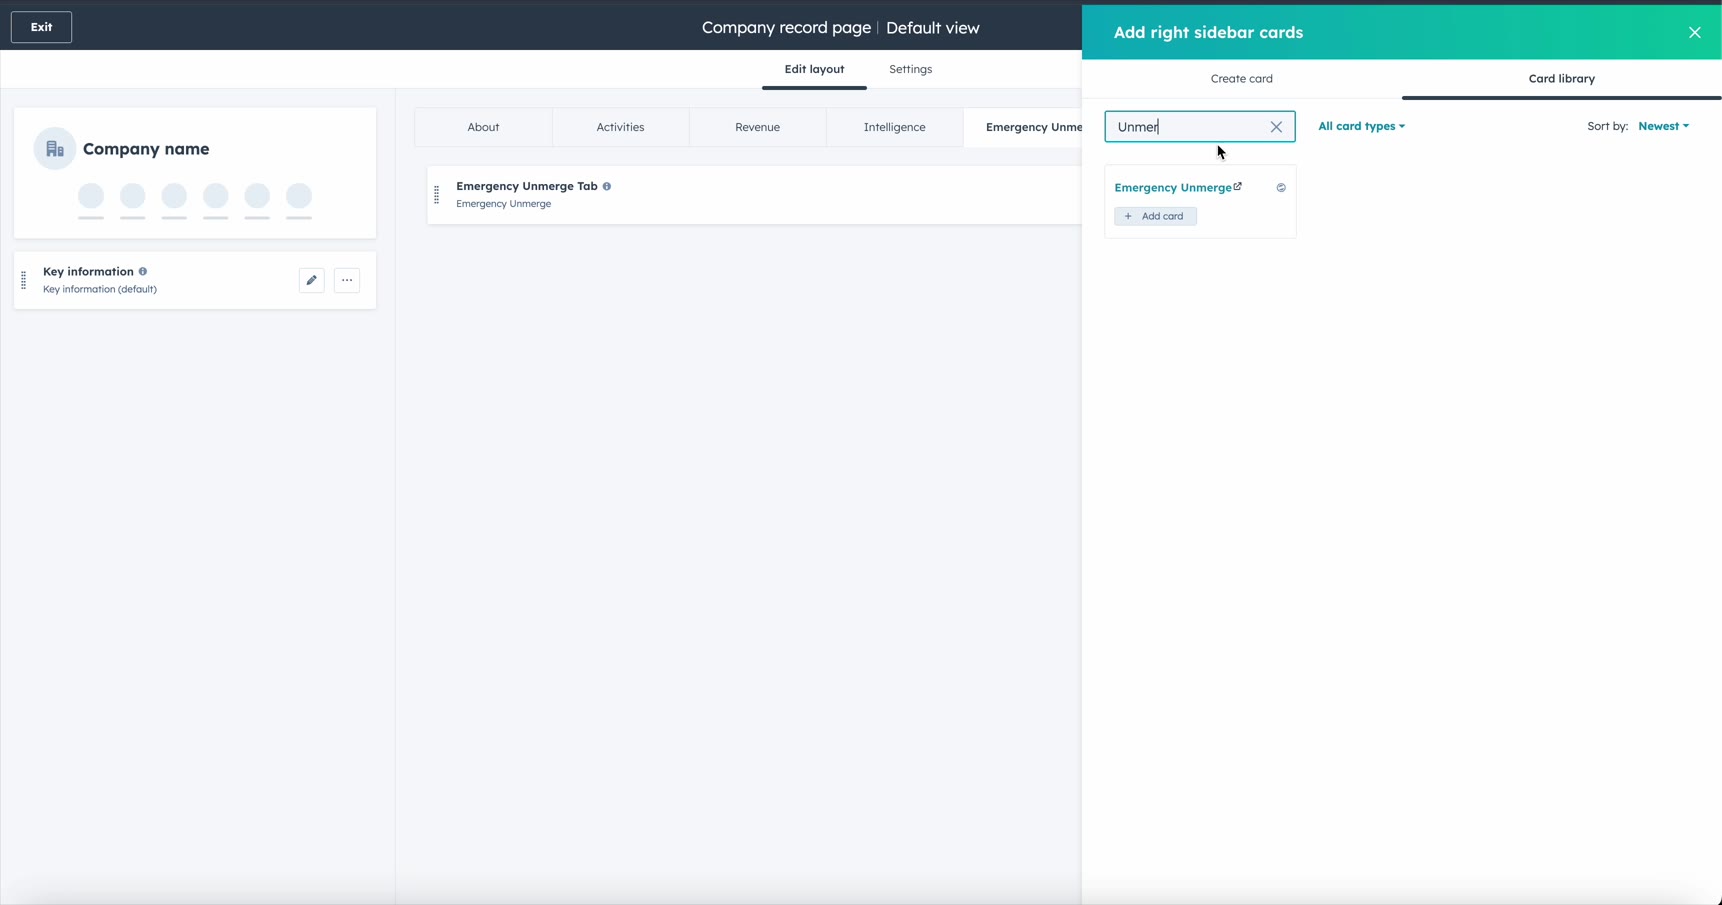
- Add the Emergency Unmerge sidebar card to the right column.
- Click "Save and exit".
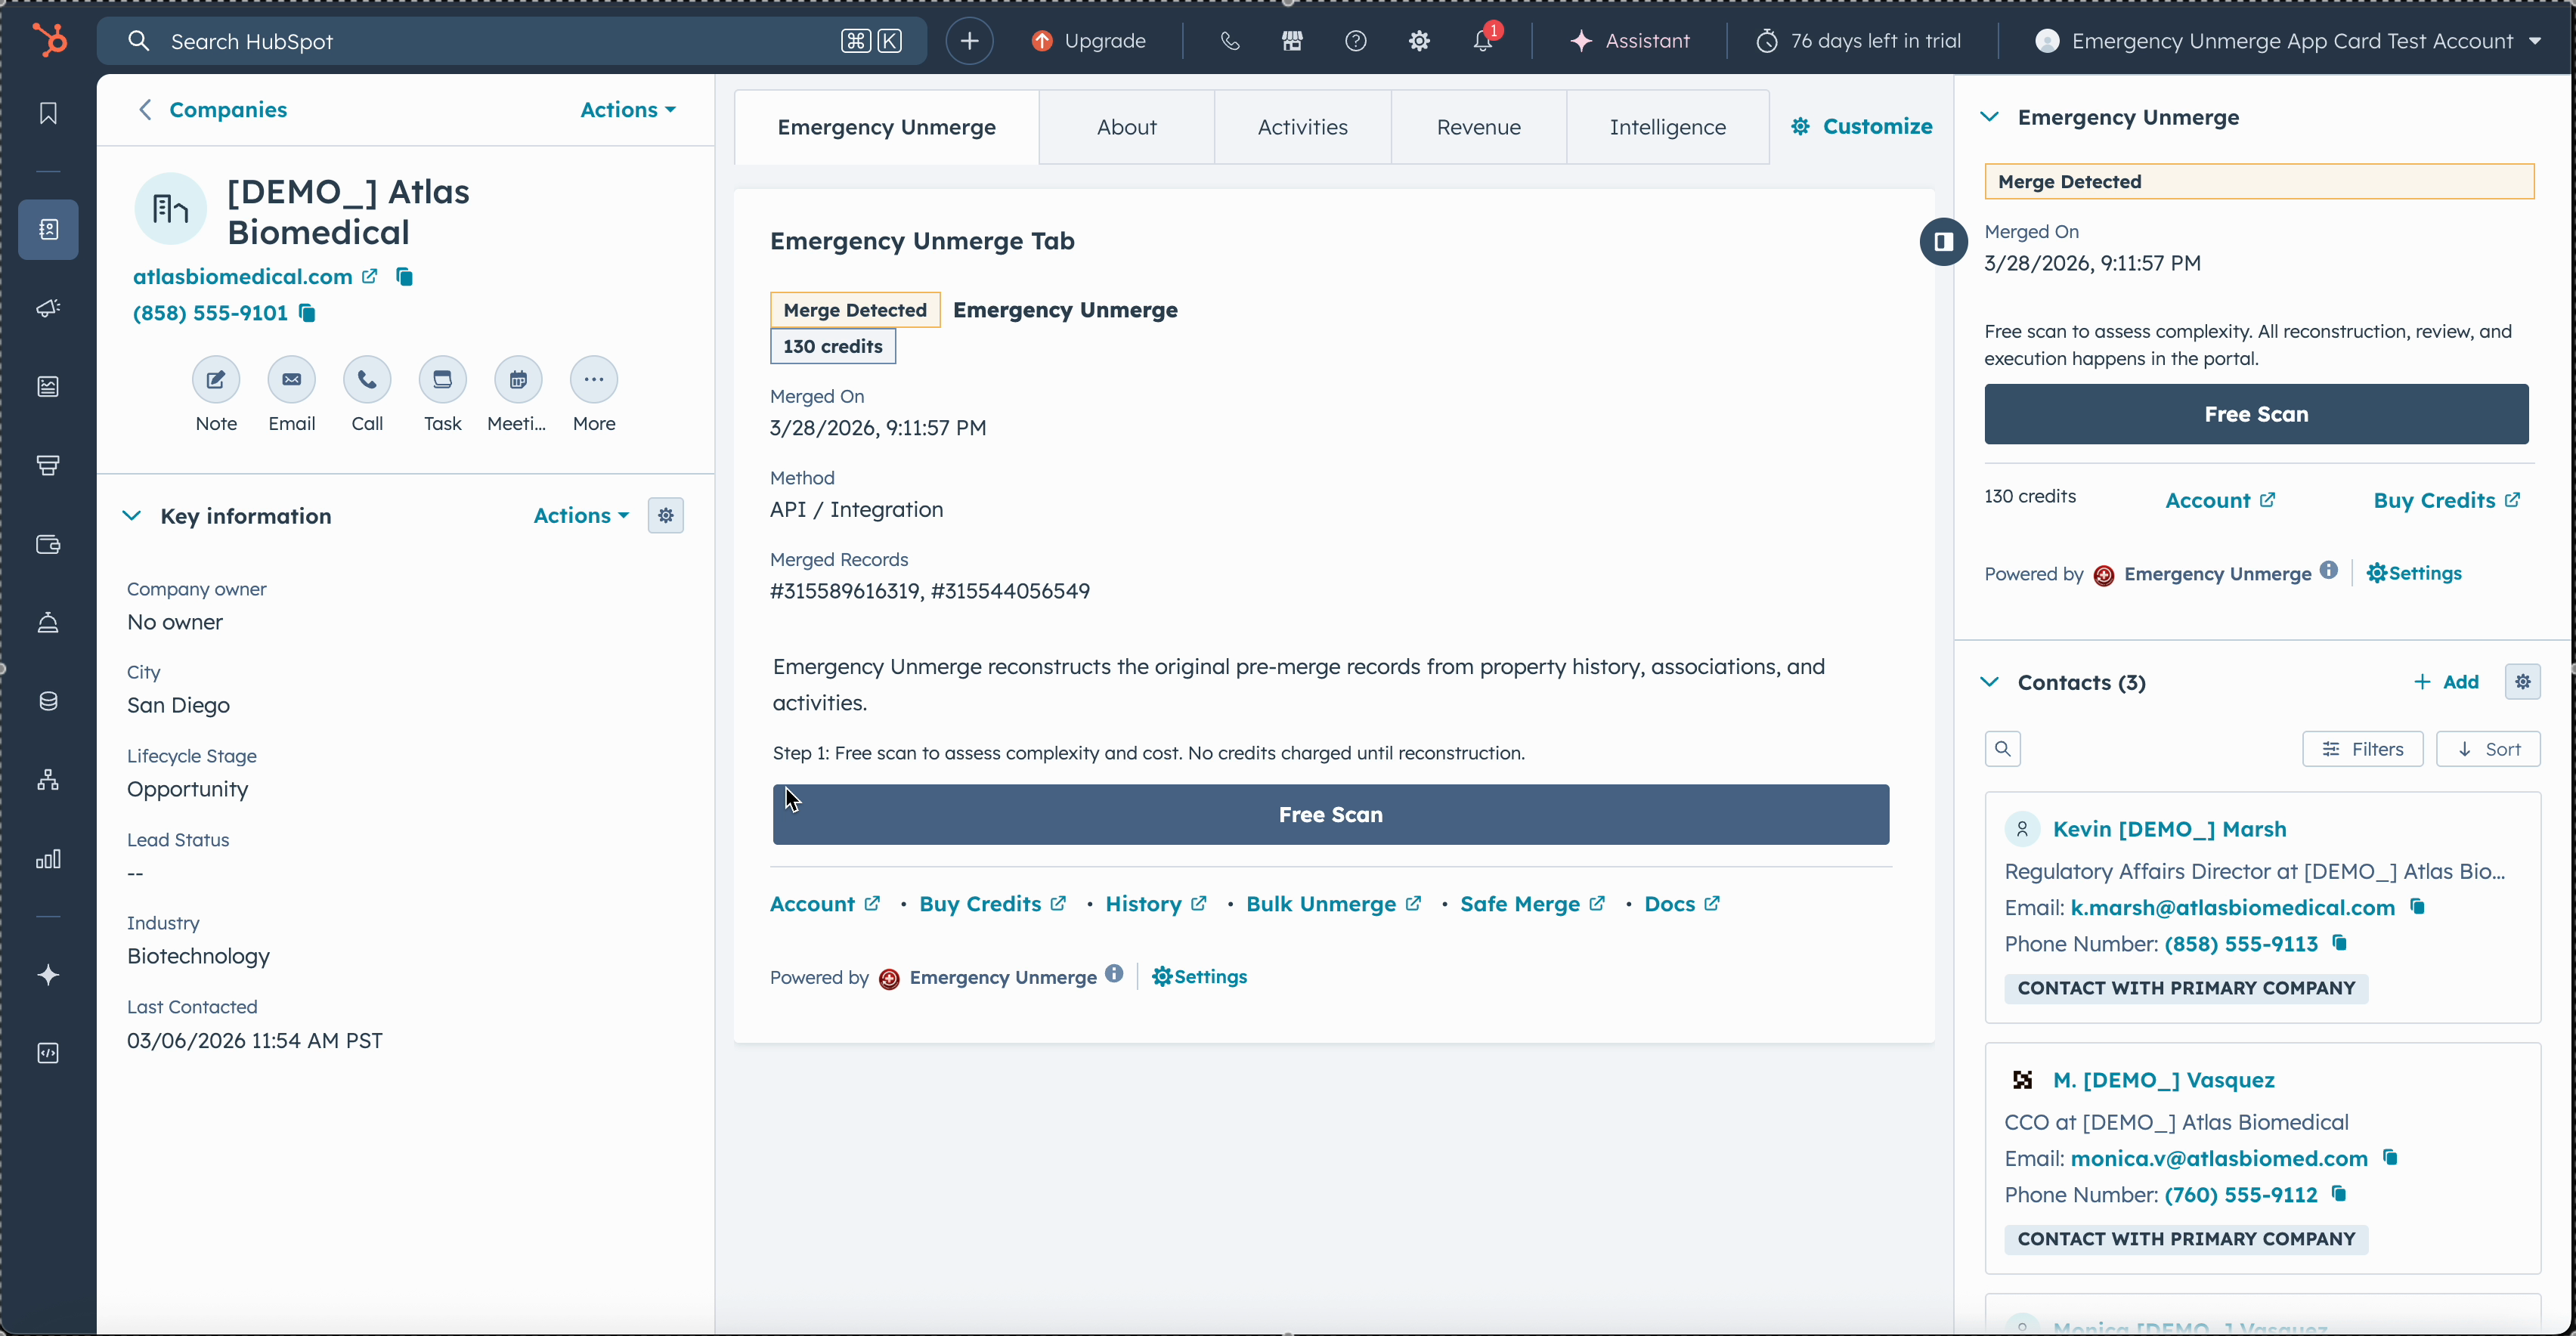
2. Scanning a Merged Record
Navigate to a record that was created by an accidental merge. The Emergency Unmerge sidebar card will appear on the record page.
- Click "Scan Record" in the sidebar card.
- The scan is completely free: no credits are charged.
- Within seconds, the scan returns:
- Whether a merge was detected
- Number of properties, associations, and activities involved
- Complexity assessment (simple vs. complex)
- Exact credit cost for reconstruction

If a chain merge is detected (the record was merged multiple times), the scan will show how many merge events occurred.
3. Reconstruction
After reviewing the scan results and purchasing credits (if needed), click "Generate Reconstruction Plan".
The system (Anthropic's Claude) analyzes:
- Property history: every field's values, timestamps, and sources
- Timestamp forensics: when values were set vs. when the merge happened
- Association patterns: which contacts, companies, deals, emails, notes, tasks, calls, and meetings belong to which original record
- Email domain forensics: matching email domains to company records
Reconstruction typically takes 1-2 minutes depending on complexity.
Important: Credits are charged when reconstruction begins. If reconstruction fails (API error, timeout), credits are automatically refunded.
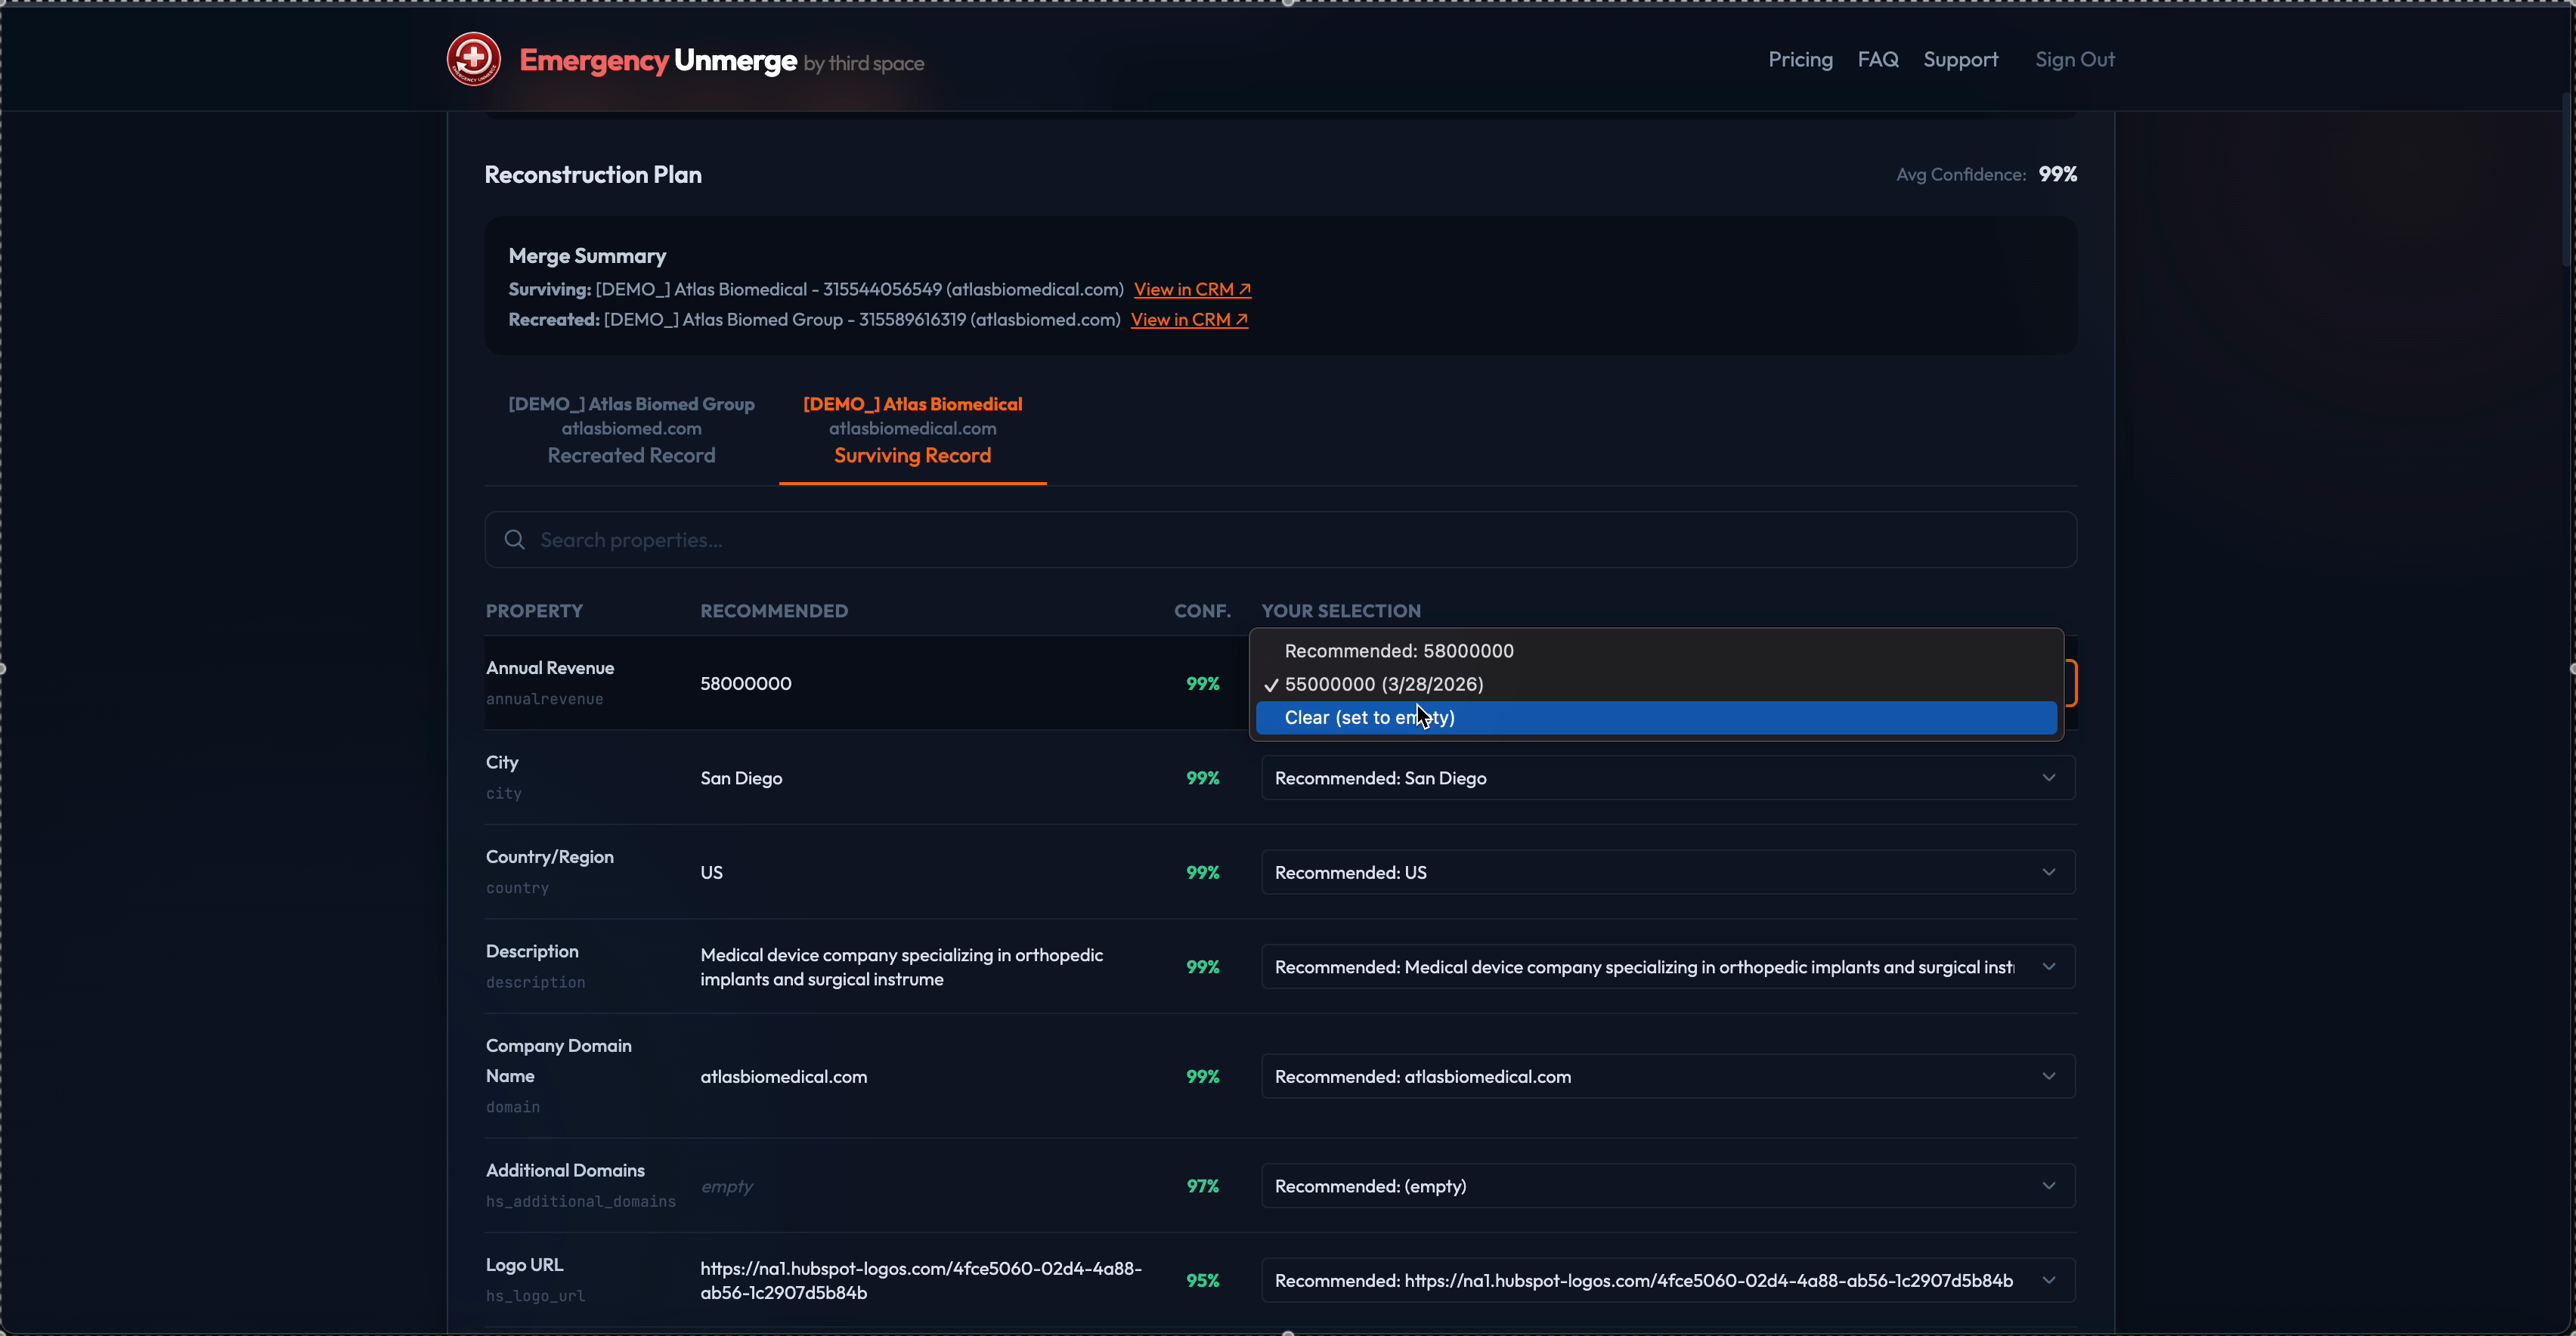
4. Reviewing the Reconstruction
After reconstruction, you enter the Review step. Here you can inspect the reconstruction before anything touches your CRM.
- Side-by-side view: see both reconstructed records (primary/surviving and secondary/restored) with all their properties and associations
- Confidence scores: every property shows a confidence percentage (how certain the system is about the attribution)
- Property history dropdowns: for any field, select from all historical values if you disagree with the system's choice
- Swap All: if the system reversed primary/secondary, one click swaps everything
- Copy JSON: copy the full reconstruction JSON for manual verification
Tip: If you leave the page during review, you can resume the operation from your account history page. No data is lost.
5. Executing the Unmerge
Once you're satisfied with the reconstruction, click "Execute Unmerge".
Important: Review carefully before executing. Executing will create new records in your HubSpot CRM. Due to HubSpot API limitations, we cannot restore the original merged record. Instead, a brand-new record is created with a different Record ID and new HubSpot-generated fields such as Create Date. Recovery snapshots are saved automatically, and the Property Editor lets you correct any writable fields after execution.
Where are the original read-only values? Emergency Unmerge automatically saves all unwritable HubSpot fields in a custom property group called "Emergency Unmerge" on each new record. Key properties include:
EU Original Create Date (Pre-Merge): the true creation date before the mergeEU Original Record ID (Pre-Merge): the original HubSpot Record ID for audit trailsEU All Original Read-Only Values (JSON): a complete JSON backup of all read-only property values (lifecycle stage dates, analytics data, engagement timestamps, etc.) that could not be written back
You can view these properties on any unmerged record under the "Emergency Unmerge" property group in HubSpot.
During execution, Emergency Unmerge:
- Captures a pre-execution snapshot of the current record state (all properties + associations)
- Creates a new record with the secondary/restored properties (this record will have a new HubSpot Record ID)
- Saves original read-only values (Create Date, Record ID, analytics source, etc.) to the "Emergency Unmerge" property group
- Reassigns associations (contacts, companies, deals, activities) to the correct records
- Sets metadata properties on both records (unmerge date, original ID, details)
- Captures a post-execution snapshot of all affected records
6. Post-Execution Property Editor
If the reconstruction got a property wrong - or you just want to change a value - use the Property Editor on your account history page.
- Go to your account dashboard
- Find the completed operation in the history table
- Click "Edit Properties" in the actions column
- A modal opens showing every property for each record:
- Properties with multiple historical values show a dropdown with all past values, timestamps, and sources
- Properties with a single value show the current value with an "Edit" link for manual entry
- Select the correct value from the dropdown and click "Save"
- The value is written directly to HubSpot - no credits charged for corrections
Tip: Use the search bar at the top of the property editor to quickly filter by property name or label.
7. Association Editor
After executing an unmerge, you may need to reassign associations between the separated records. The Association Editor provides full control over associations on both records.
- Go to your account dashboard
- Find the completed operation in the history table
- Click "Associations" in the actions column
- The editor shows all current associations on both records (contacts, companies, deals, notes, tasks, calls, emails, meetings)
- For each association, you can:
- Move: Transfer the association from one record to the other
- Add: Create a new association on either record
- Remove: Delete an association from a record
The editor also shows the AI's original recommended assignment for each association, so you can compare what the system suggested with what is currently live in HubSpot.
Tip: No credits are charged for association changes. Move, add, and remove as many associations as you need after execution.
8. Analysis Export
Download the full reconstruction analysis as a JSON file for compliance, auditing, or manual verification.
The export includes:
- Per-property attribution: Which record each property was assigned to, with confidence scores and reasoning
- Association mappings: Which associations were assigned to which record, with reasoning
- Activity clustering: How engagement activities (emails, calls, notes, tasks, meetings) were grouped and attributed
- Merge forensics: Timestamps, merge event chain, and property history analysis
- Processing metadata: Token usage, model used, processing duration
To download:
- Go to your account history
- Find any operation that has completed reconstruction (or later)
- Click "Download Analysis" in the actions column
- A JSON file downloads with the complete analysis data
Tip: The analysis export is available after reconstruction completes, even before execution. Use it to review the AI's reasoning in detail before committing to changes.
9. Operation History & Credit Ledger
Your account dashboard shows a complete history of all operations with:
- Summary stats: total operations, completed count, and total credits spent
- Operation table: date, type, record ID, status, credits charged, and confidence score for each operation
- Expandable detail rows: click any row to see:
- Operation ID
- Credits charged (with USD equivalent)
- Processing model used
- Started/completed timestamps and duration
- Token counts (input/output)
- Complexity breakdown (properties, associations, activities, merge type)
- Error details (if the operation failed)
- Actions: Resume, Edit Properties, Edit Associations, Download Analysis, Download Snapshots, Cancel
Below the operations table, the Credit Transaction Ledger shows every credit transaction: purchases, deductions, and refunds with dates and descriptions.
10. Recovery Snapshots
Every execution automatically captures JSON snapshots of all affected records - both before and after the unmerge. These include every property and association on each record.
To download snapshots:
- Go to your account history
- Find the completed operation
- Click "Snapshots" in the actions column
- A JSON file downloads containing the full pre/post record states
Note: Recovery snapshots are a courtesy for developer-assisted manual restoration. They are NOT an automatic undo feature. Restoring records from snapshots requires manual effort using the HubSpot API.
11. Chain Merges
A chain merge happens when a record was merged multiple times (e.g., A merged into B, then B merged into C). Emergency Unmerge detects chain merges automatically during the scan.
- The scan shows how many merge events occurred and displays a Merge Timeline with dates and record names for each event
- You can select a specific merge event from the timeline to undo just that one merge, or choose to reconstruct all records at once
- During review, you see the reconstructed records with confidence scores - tabs for each record if reconstructing all, or a standard primary/secondary view if targeting a single event
- Execution creates the separated records - either all abolished records at once, or just the one you selected
Chain merges may require more credits due to increased complexity.
12. Bulk Operations
Bulk Unmerge lets you unmerge up to 10,000 records at once by uploading a CSV file or selecting a HubSpot List/Segment. This is ideal when accidental merges affected many records, for example, a bulk merge job gone wrong, or a data import that triggered unwanted auto-merges.
Supported Sources
Emergency Unmerge accepts three sources for bulk unmerge:
- HubSpot Merge History Export (CSV): Contains columns like
Merged Object ID,Resulting Object ID,Performed by, andMerge happened at. Export this from HubSpot under Reporting → Merge History. - View / Segment Export (CSV): A standard HubSpot view or list export containing a
Record IDcolumn (or similar ID column). Use this when you have a list/view of merged records you want to process. - HubSpot List / Segment (Direct): Select any existing Contact or Company list directly from your HubSpot portal. No CSV export needed. The system fetches the record IDs from the list automatically. Supports Active (dynamic), Static, and Snapshot lists.
For CSV uploads, the system auto-detects the format. For HubSpot Lists, simply select the list from the dropdown and click "Load Records."
Bulk Unmerge Workflow
The bulk workflow runs in five phases, each requiring your explicit approval to proceed:
- Upload / Select: Upload a CSV or select a HubSpot List from the Bulk Unmerge section on your account page. Select the object type (contacts or companies). The system validates the source and shows how many records were found.
- Scan: Click "Start Scan" to scan all records for free. Each record is checked for merge history, and the system calculates the total credit cost. Records where no merge is detected are marked as "scan_failed" and skipped in subsequent phases.
- Reconstruct: Review the scan summary and total credit cost. If you have enough credits, click "Start Reconstruction." The system processes all eligible records in batch. Progress is tracked in real time with a progress bar showing records completed vs. total eligible.
- Review: After reconstruction completes, download the completion report to review results: total records processed, credits used, successes, and any failures.
- Execute: Click "Start Execution" to recreate all separated records in HubSpot. The system processes each record sequentially, creating new records and reassigning associations.
Progress Tracking & Cancellation
- Real-time progress bars show records completed vs. total for each phase
- You can cancel at any phase. Unprocessed records receive automatic credit refunds
- If a high percentage of records fail during any phase, the system will early-abort to prevent wasting credits, and refund unused credits automatically
- You can navigate away from the page and return later. The job continues in the background and the UI resumes where you left off
Credits & Refunds for Bulk Jobs
- Credits are deducted upfront when reconstruction begins, based on the total estimated cost from scanning
- Records that fail reconstruction are automatically refunded
- If you cancel during reconstruction or execution, unprocessed records are refunded
- The completion report shows exactly how many credits were used and how many were refunded
Tip: For very large datasets (more than 10,000 records), split your CSV into multiple files or create multiple HubSpot Lists and run separate bulk jobs. Each job can be tracked independently from your account dashboard.
13. Merge Audit Mode
Merge Audit is a read-only mode for bulk operations. It runs the full scan and reconstruction pipeline but does not execute any changes in your CRM.
Use Merge Audit when you want to:
- Assess the scope of a merge cleanup project before committing
- Generate a report showing what would be reconstructed for each record
- Review confidence scores and property attributions across many records
- Share audit findings with stakeholders before taking action
To start a Merge Audit, select "Merge Audit" mode when creating a bulk job from your account dashboard. Merge Audit jobs use the same credits as unmerge jobs for the reconstruction phase. The difference is that no execution happens, so the results are purely informational.
Audit Reports
After reconstruction completes, download the audit report as a CSV. It includes per-record details: merge detection status, complexity, confidence scores, and the AI's proposed property attributions.
14. Audit-to-Unmerge Conversion
Completed a merge audit and want to act on the results? You can convert selected records from a completed audit into an unmerge job without re-scanning or re-reconstructing.
How It Works
- Complete a Merge Audit bulk job
- Review the audit results and select the records you want to unmerge
- Click "Convert to Unmerge"
- A new unmerge job is created with the selected records
- The scan phase is skipped entirely (reuses audit data)
- Reconstruction runs at a 50% credit discount
- Review and execute as normal
Save 50% on credits: Audit-to-unmerge conversion skips the scan phase and applies a 50% discount on reconstruction credits. This is the most cost-effective way to handle large-scale merge cleanup projects.
15. Credits & Billing
Credit Packages
- Per-Credit - from $0.05 each: Buy exactly how many you need. $0.05/credit under 250, or $0.04/credit at 250+. 100 credit minimum ($5.00), no bundles required.
- 100 Credits - $4.99 ($0.05 per credit): Convenient bundle for simple to medium unmerges.
- 250 Credits - $9.99 ($0.04 per credit): Mid-range option for complex records or small batches.
- 500 Credits - $19.99 ($0.04 per credit, save 20%): Best value for teams or bulk unmerges.
Tip: The free scan tells you the exact credit cost before you buy. Use per-credit purchasing to buy exactly the number you need. No waste, no overspending.
How Credits Are Used
- Credits are charged when reconstruction begins (not during scanning)
- Cost depends on record complexity - number of properties, associations, and activities
- The scan step is free and shows the exact credit cost before you commit
- Credits never expire
- Audit-to-Unmerge discount: Converting records from a completed merge audit to an unmerge job applies a 50% credit discount on reconstruction
- Safe Merge subscribers: Paid Safe Merge plans include a monthly Emergency Unmerge allowance (10-unlimited operations/month depending on plan tier)
Refunds
- Credits are automatically refunded if reconstruction fails (API error, timeout, system failure)
- Credits are not refunded for successful reconstructions you are dissatisfied with, user error, or approved executions
- The Property Editor lets you correct fields at no additional cost
Payments are processed by Stripe. We never store credit card numbers.
16. Disconnecting & Uninstalling
How to Disconnect Emergency Unmerge
Disconnecting revokes Emergency Unmerge's OAuth access to your HubSpot portal. Your credit balance and operation history are preserved.
- In HubSpot, go to Settings → Integrations → Connected Apps.
- Find Emergency Unmerge in the list.
- Click the Actions dropdown and select Disconnect.
- Confirm the disconnection.
What happens when you disconnect:
- Emergency Unmerge can no longer access your HubSpot CRM data.
- Any in-progress operations will fail (credits are auto-refunded for reconstruction failures).
- Your credit balance and operation history are preserved: if you reconnect later, they will still be available.
- Custom properties written by Emergency Unmerge (e.g.,
eu_unmerge_date,eu_unmerge_details) remain on your records. - Records created by previous unmerge operations are not affected: they remain in your CRM.
How to Uninstall Emergency Unmerge
Uninstalling removes the app entirely from your HubSpot portal, including the CRM cards.
- In HubSpot, go to Settings → Integrations → Connected Apps.
- Find Emergency Unmerge in the list.
- Click the Actions dropdown and select Uninstall.
- Confirm the uninstallation.
What happens when you uninstall:
- The Emergency Unmerge sidebar card and tab card are removed from all record pages.
- OAuth tokens are deleted from our servers.
- Your credit balance and operation history are preserved on our side - if you reinstall later, your account is restored.
- Records and properties created by previous operations remain in HubSpot unchanged.
- No HubSpot data is deleted by uninstalling Emergency Unmerge.
Tip: If you want to remove the custom properties Emergency Unmerge wrote to your records (e.g., eu_unmerge_date), you can delete them manually via HubSpot Settings → Properties. This is optional and not required.
17. Troubleshooting
"No Merge Detected"
This means HubSpot's property history doesn't show a merge event on this record. Possible causes:
- The record was not created by a merge (it may have been duplicated another way)
- The merge happened so long ago that the relevant property history has been overwritten
- You're looking at the wrong record - try the other record involved in the merge
Reconstruction Seems Inaccurate
- Use the Property Editor after execution to correct individual fields
- Check if the primary/secondary records are swapped - use "Swap All" during review
- Records with very few properties or overlapping values are harder for the system to disambiguate
Operation Stuck or Failed
- Check your operation history for error details
- Failed operations receive automatic credit refunds
- If an operation is stuck, you can cancel it from the history page
- Contact joshua@thirdspaced.com for persistent issues
Need Help?
Contact us at joshua@thirdspaced.com or use the support form. Include your HubSpot Portal ID and operation ID if available.